This is my first post of several that I will post over the next week. Nick graduated last week and then went to Disney World this week (having so much fun). My daughter and I spent months planning his graduation party and making decorations. We had so many, I need three posts to cover all of it. This first post is the dessert table (my favorite part of any party - honestly I could be a "dessertatarian"). I searched Pinterest and other web sites for ideas and created a fairly extensive set of Pins. I will try to give credit to those sites from which I got ideas but there were so many great ideas I am not sure I will catch all of them. My apologies in advance to those sites I may have inadvertently missed. Lastly, it is obvious from the photos that the school colors are a light royal blue, red, white and a touch of black. I used a lot of black and a lighter blue (not navy) to help avoid a "4th of July" look.

I wanted a banner that connect sweets and graduation. After several ideas I settled on "Sweet Success." Then I added a mocked up diploma (which I signed myself as the superintendent and Nick thought was funny) and created a mortarboard to put above the banner.

To mock up a diploma, I used a diploma template from Microsoft Word and filled in Nick's name, his school and graduation date and printed it on off white paper.
To make the mortarboard, I covered a 10"x10" piece of black foam core board from the dollar store with black fabric I bought for 25 cents at a thrift shop. Then I covered a small black button with the same fabric and added a tassel made from embroidery thread (also purchased at a thrift shop for less than a nickel ).


Learn how to make a tassel here.
To make the "Sweet Success" Banner I used MS Power Point to import free blue paper with small white polka dots as a background to black lettering using "Marker Felt" font.
I cropped the letters in a rectangle and mounted them on free red and white striped digital paper on top a black card stock to give it a black border. I used a glue gun to attach each letter to black yarn to hang the banner.
I had some curtains left from my home decorating red phase so they served as a great backdrop.
To add more interest I used circle garland punched from free digital paper in different blue patterns and Nick's high school logo (which the high school conveniently provided on their website).

There are quite few blogs out their on making garland like this since it has been popular for quite some time. Here are some of them:
The proper pinwheel method
How to make paper holiday garland at curably.com
Bonjour Jacqueline glue method
Juneberry Lane card stock method
I ended up using a combination of a couple of these methods. Since I wanted all my decorations to match and I wanted a pattern on the circles instead of plain card stock, I used free digital paper and the school logo (CV) printed on standard white printing paper. Then I punched the paper using varying sizes of punches. Punches are designed to work best on card stock so when using thinner printer paper the punch works best if you double up the paper so you are punching through two layers at once. I found that if you pre-cut the paper into strips that are slightly larger than the punch you are using, the punching goes much faster.
 |
| Use two sheets of paper to make punching easier |
I sewed the circles in a repetitive pattern leaving a few stitches of space between each circle. I found if I kept a constant pull on the thread and counted the stitches between circles I ended up with a fairly consistent spacing. I also lined the circles up in order on my workspace next to my sewing machine. The sewing went very fast and I had no problems with sewing circles in the wrong order.
The down side of using digital paper printed on standard white paper is that it is white on one side (and trust me the garland will twist once you hang it showing the white paper). So, once I had sewn the garland to the proper length (5 and 1/2 feet), I laid it flat on my dining room table glued the same pattern/same size circle on the back of each sewn circle.
In the photos below, you can see the stitching one side but not on the side with the glued circles. Once hung, you don't notice the stitching.
 |
| Sewn side showing |
 |
| Glued side showing |
I had quite a few circles left over once the garland was done so I created the 2014 sign by gluing the circles on white card stock in a random pattern (I didn't have 11"x17"card stock and I wanted the sign to be larger than 8" x 11" so I taped two 8" x 11" white card stock together before I glued the circles on. The circles covered the seam nicely.
I used the same free digital red striped paper and black card stock to create the 2014 numbers, mounted them on the random circle paper and mounted everything on black foam core from the dollar store to create a two inch black border. I created a template for the numbers by using MS Power Point to print two numbers per page with a landscape orientation. Then I used black carbon tracing paper to transfer the number shape to the red and white striped paper. The end result served as the back drop for the cupcake stand.


Now on to the desserts.
There were 6 desserts and three types of candy on the table:
Vacuum Cleaner Cookies (this is one of my favorite recipes and always a crowd pleaser - seriously everyone will ask you for the recipe so be prepared). I made them according to the recipe but then used 1" biscuit cutters to cut them in circles (definitely a circle theme here). I added a small amount of cream cheese frosting to layer two circles together and a bit of cream cheese frosting on top to hold a raspberry (brings in the school colors again).

I added Pop Rocks in a glass jar in the back of the vacuum cookies with an accordion folded circle that says "You Rock."
I baked a Chocolate Mint Crisps cookie recipe from a Taste of Home book I bought years ago. This is one of Nick's favorite cookies and we have made them together several times - if you love chocolate mint girl scout cookies, you will love this recipe.

I added Red Vines in an apothecary jar behind the Mint chocolate cookies.
On the cupcake stand I added Dark Chocolate Chip Cupcakes with Mascarpone Cheese frosting and Lemon Meringue Cookie Cups from Mom on Time Out (Lemon Meringue Pie is one of Nick's favorite desserts). I piped 2014 in red colored white chocolate as a decoration on the chocolate cupcakes and CV on the lemon merengue bites.

Jen made lemon cookie (another one of Nick's favorites). I don't have the recipe but will ask her when she gets back from vacation and publish it with her permission. I'm a symmetry nut to I had a second jars of Red Vines behind the lemon cookies.

Lastly, I made graduation hat cake pops. These were fun to make and surprisingly easy. There are a number of sites on Pinterest that show grad hats made from Reese's Peanut Butter Cups and chocolate squares but we have peanut allergies in the family so we aways have a no peanut zone. I also wanted to make cake pops but I am not a huge fan of standard cake pops (from plain cake mixed with frosting) - too sweet and not enough texture for my tastes. So I made double dark chocolate brownies (dark chocolate cuts the sweetness a bit). Then rather than shaping the bottom portion of the hat into a cylinder, I cut the brownies with 3/4 inch round cutter found in the Ateco Cookie Cutter Set to get a clean and consistent shape. I use these cutters all the time and I like the fact that the set comes with a wide range of sizes. Here is the recipe and steps for the Brownie Graduation Hat pops.

I also added a jar of Smarties with an accordion folded circle and a "Smartie Pants" label.

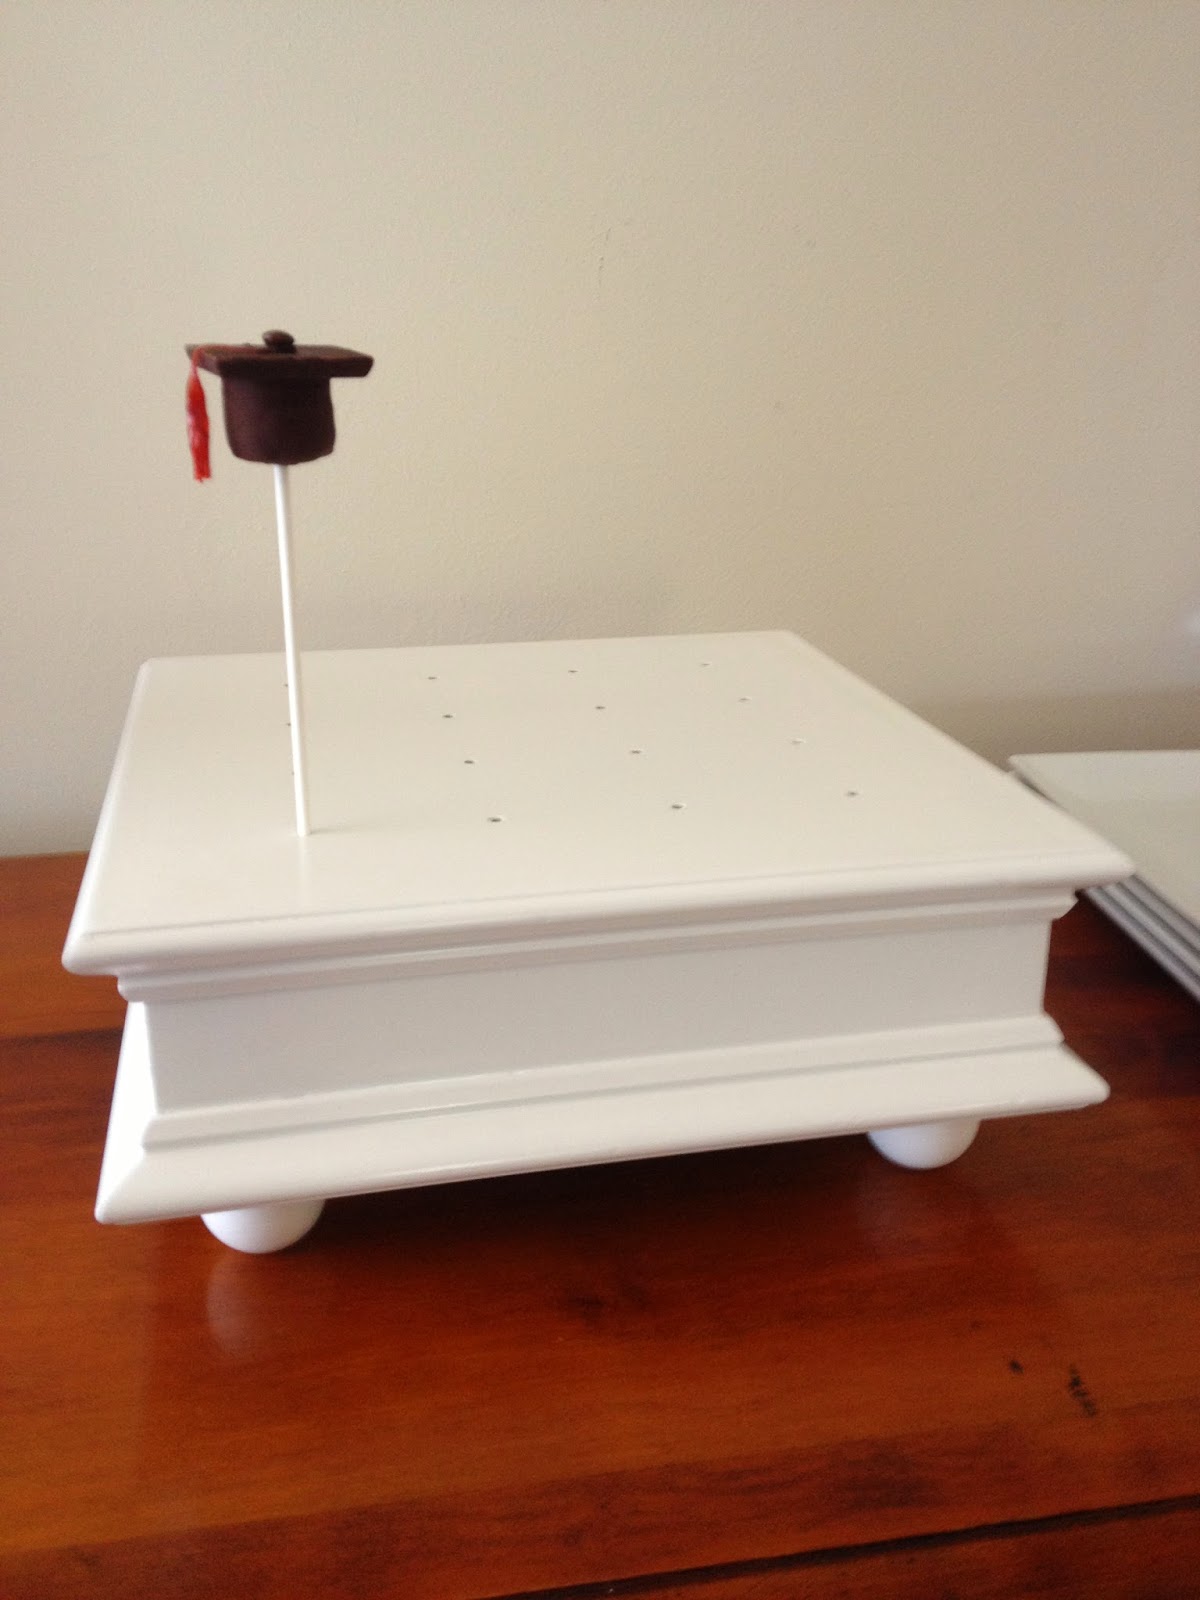
My husband made this cake pop stand similar to one I saw online (I love it).
The last note is that since Jen and I put so much on her buffet, we didn't have space for plates and napkins. No problem, we cleaned out a drawer, opened it up, added a red napkin to tie into the color scheme and dropped in the plates and napkins.
Next blog covers more decorations and the last blog on this party will cover entertainment. Enjoy. Sandy
Wow! Such a wonderful post. It is a proud moment for every parent and we show it by throwing such amazing parties for the kids. I have also booked a beautiful event space Atlanta for my daughter’s graduation party. She likes pink and black a lot, I can use those colors for the decoration.
ReplyDelete